
- File > New > Document
- (Page Size is actual size of single page in your booklet.)
- Layout Grid: column grid, used to assist in aligning our content on the page.
- Bleed > compensates for any inaccuracies in trimming. (Full Bleed - Image/content that fits the full page) Standard bleed amount is 3mm. Gives you red margin, extend image to that. Prints crop marks, shows wear to position metal ruler in order to trim.
- Both bleed + slug define area that sits outside the page, that will print. Slug is used for registration/crop marks.
- Total number of pages must be a multiple of 4. (e.g 12 page booklet would be printed on 3 sheets of paper, which would then be folded and bound).
- Facing Page check box: All about making this kind of publication. If you tick facing pages, shows on screen exactly the format that you will have. Readers spread.
- One thing you should consider is how you are going to print/produce your book. Page size can have a consequence on how/where you are going to print it > remember if using a bleed, you have to print bigger than desired page size.

200x280, 12 page booklet with 3 column grid.
- Hold shift key to select multiple/all of your pages on full preview.
- Layout > Create Guides (more possibilities for grids)

6 rows x 3 columns
- To lock guides: View > Grids & Guides > Lock Guides
- Master Page: Just above first page on side bar preview, A-Master is the master page that is associated with this document.
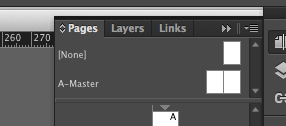
Every page is based on A-Master.
- Double click on master page, then you will view it in document window. Everything you have on your master page will be automatically added to every page in booklet. IF you need anything consistent it is easily achieved.

Page size considerations
Consistency with document
Linked text frames
Easy Concertina
Image Considerations
No comments:
Post a Comment